



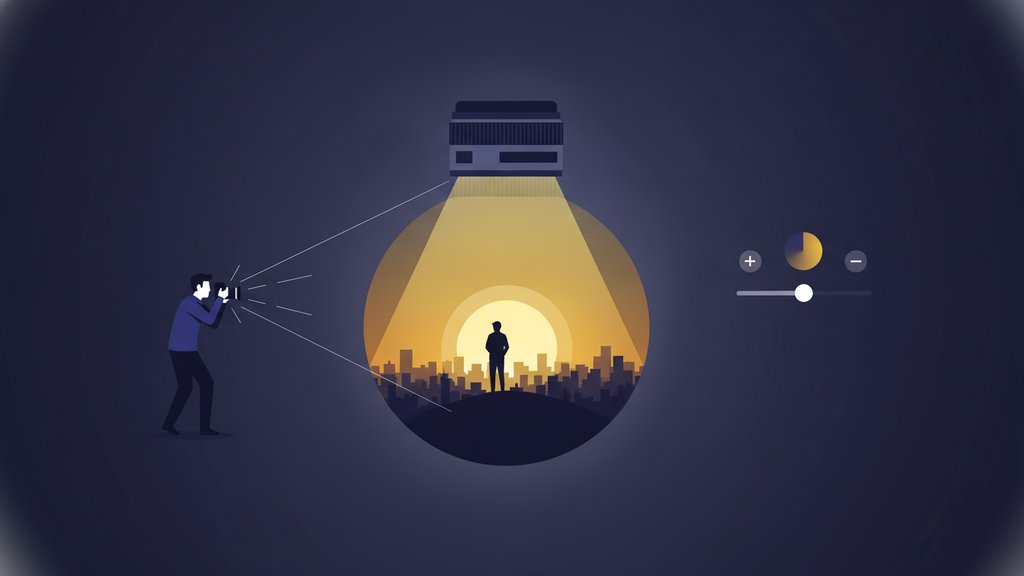
Vignetting is the darkening of the corners and edges of a photo compared to its center. Sometimes it happens by accident because of your lens, and sometimes photographers add it deliberately to pull your eye toward the middle of the frame. The word "vignette" describes both the flaw and the effect, so what is vignetting really depends on whether it showed up uninvited or you put it there on purpose.
Content Table
What vignetting actually is
Look at a photo where the four corners fade darker than the subject in the middle. That gradual falloff in brightness from center to edge is vignetting. It is usually smooth and circular, not a hard line, which is why it can be so subtle you barely notice it until someone points it out.
The effect comes from how much light reaches each part of your camera's sensor. The center gets the most light. The corners, sitting at a steeper angle to the lens, get less. Multiply that by a few optical quirks and you get darker edges. It is closely related to how brightness spreads across an image, which is why understanding the difference between brightness and exposure helps you read what is really going on in a shot.
The main types of vignette
Not all image vignetting comes from the same source. Knowing the type tells you whether you can fix it, prevent it, or should just embrace it.
| Type | Cause | Fixable? |
|---|---|---|
| Optical | Light hitting corners at an angle inside the lens | Yes, close the aperture a stop or two |
| Mechanical | A hood, filter, or ring physically blocking light | Yes, remove the obstruction |
| Natural | Physics of light falloff (the cos⁴ law) | Partly, in editing |
| Artificial | Added in editing on purpose | You control it fully |
Optical and natural vignetting are baked into how lenses work. Mechanical vignetting is a mistake you can spot and stop, often caused by stacking too many filters. Artificial vignetting is the creative one, the vignette effect you dial in during editing to shape the mood of a picture.
Why your lens causes dark corners
Lens vignetting is strongest when your aperture is wide open, like f/1.8 or f/2.8. At those settings the front of the lens acts almost like a tube, and light aiming for the corners gets partly clipped. Stop down to f/8 or f/11 and the effect usually shrinks or disappears.
- Wide-angle lenses show more vignetting because light hits the sensor edges at extreme angles.
- Cheaper or older lenses tend to vignette more than premium glass with better corner correction.
- Full-frame sensors reveal edge falloff that a smaller crop sensor might crop right out of the frame.
This falloff is one of several optical behaviors your lens introduces, alongside things like lens distortion that bends straight lines and chromatic aberration that adds color fringing at high-contrast edges. Modern editing software can correct all three automatically using lens profiles. The physics behind the corner darkening follows the cosine-fourth law of illumination, which is why even a technically perfect lens still shows a little natural falloff.
When photographers add vignetting on purpose
Here is where a flaw becomes a tool. A gentle dark border does something powerful: it guides the viewer's eye inward toward the subject. Our eyes are drawn to the brightest part of an image, so darkening the edges quietly says "look here."
Photographers reach for a deliberate vignette when they want to:
- Focus attention on a portrait subject's face without distracting bright corners.
- Add mood and drama, since darker edges feel moody, intimate, or cinematic.
- Create a vintage look, because old cameras and film naturally vignetted heavily.
- Frame the scene, using darkness like a soft, invisible border.
The vintage angle pairs naturally with other retro treatments. Many photographers combine a soft vignette with a warm tone, similar to how sepia toning creates a nostalgic feel. And in portraits, a vignette works beautifully next to a shallow depth of field, so it is worth understanding how bokeh softens the background to isolate your subject even further.
How to add or remove a vignette
Both directions are easy in modern editors. The controls are almost always sliders, so you tweak the effect visually rather than guessing numbers.
To add a vignette, look for these adjustments:
- Amount: how dark (or bright) the edges get. Negative usually darkens.
- Midpoint: how far in from the corners the effect reaches.
- Roundness: whether the shape is circular or more rectangular.
- Feather: how soft the transition is. High feather keeps it invisible and natural.
To remove unwanted vignetting, most software offers a lens correction option that reads your lens model and flattens the falloff automatically. If corners look dark and you did not add it, that is your fix. Just watch the corners afterward, since aggressive correction can push edge brightness too far and reveal image noise hiding in the shadows.
Finished tweaking your vignette? Save it in the right format
Once you have added or removed image vignetting, our free image converter helps you export your edited photo as JPG, PNG, WebP, or AVIF without quality loss.
Convert your image →
Frequently asked questions
It can be both. Optical and mechanical vignetting are unwanted flaws you can reduce by stopping down the aperture or removing filters. Artificial vignetting is a deliberate creative effect photographers add to guide attention and set a mood. Same darkening, opposite intent.
That is usually lens vignetting from shooting with a wide-open aperture, or mechanical vignetting from a lens hood or stacked filters blocking light. Try closing the aperture a stop or two, remove extra filters, or apply a lens correction profile in your editing software.
Keep the amount low, raise the feather so the transition is soft, and move the midpoint outward so only the far corners darken. A convincing vignette is felt, not seen. If viewers immediately notice a dark ring, dial it back until it disappears from conscious view.
Yes. Wide-angle lenses, fast lenses used wide open, and cheaper or older glass all vignette more. Full-frame cameras show it clearly since they use the whole image circle, while crop sensors often cut off the darkest corners before you see them.
In most cases, yes. Lens correction tools in editing software read your lens data and flatten the corner falloff automatically. You can also brighten corners manually, but zoom in afterward, because lifting those shadows can reveal noise that was hidden in the dark edges.