



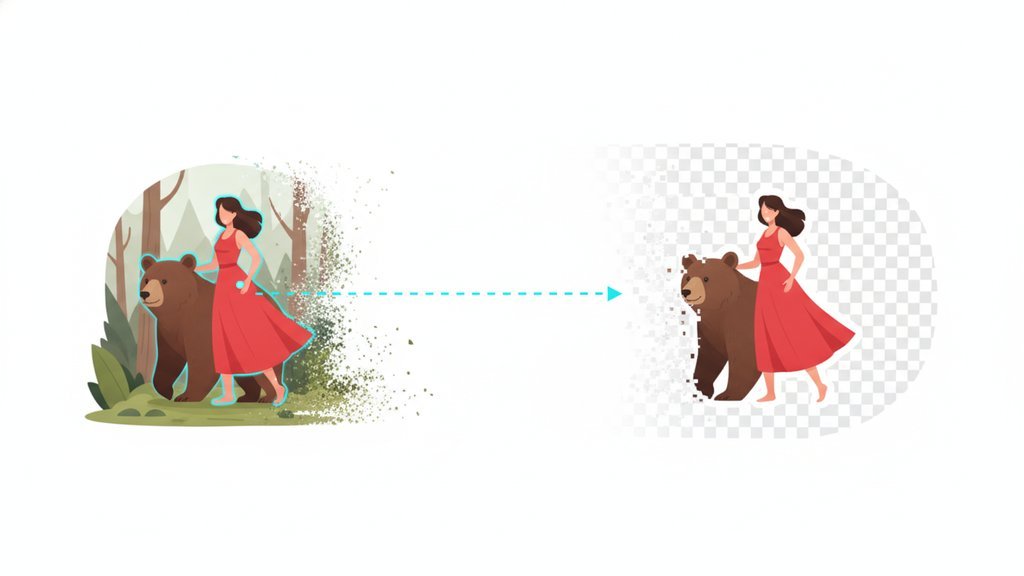
Image background removal means isolating the main subject in a photo and deleting everything behind it, leaving either a transparent background or a fresh backdrop you choose. Modern cutout tools do this automatically by detecting edges and separating the subject from its surroundings, so you can save clean PNG images ready for product listings, thumbnails, or design work. Below you will find exactly how the process works, the different methods available, and how to get sharp, professional results even on tricky subjects like hair and fur.
Content Table
How background removal actually works
At its core, background removal is about drawing a boundary (a "mask") around your subject and treating everything outside that boundary as deletable. There are two ways software figures out where that boundary sits:
- Color and contrast detection: The tool looks for sharp changes in color or brightness between the subject and the background. This works great when a product sits on a plain white or solid backdrop.
- AI subject recognition: Trained models identify what a "person," "car," or "shoe" looks like and separate it from the scene, even against a busy background. This is why you can drop in a cluttered photo and still get a clean cutout.
Once the mask is built, the pixels outside it become transparent. The result is a PNG with an alpha channel, which is the layer that stores transparency information for each pixel.
The main methods compared
Not every approach fits every photo. Here is how the common options stack up.
| Method | Best for | Effort | Edge quality |
|---|---|---|---|
| Automatic AI tool | Product photos, portraits, bulk work | Very low | Excellent on clear subjects |
| Manual selection (lasso/pen) | Precise, one-off logos or complex shapes | High | Depends on your patience |
| Magic wand / color key | Solid single-color backgrounds | Low | Weak on soft edges |
| Green screen (chroma key) | Planned shoots and video | Medium setup | Very clean if lit well |
For most people editing product photos or social content, an automatic tool wins on speed and quality. Manual methods still matter when you need pixel-perfect control over a specific logo or an unusual shape the AI misreads.
Removing a Plain Background in imgdeal
If your subject sits on a solid backdrop, you can turn that backdrop into a transparent background with the Replace Color tool in our Image Editor:
- Open the Image Editor and upload your photo.
- Pick the Replace Color tool.
- Click Pick Color and use the eyedropper to click the background.
- Set the new color's Opacity to 0.
- Raise Tolerance until the whole backdrop is caught. Go up gradually, because a very high value also removes similar shades inside your subject.
- Download the result as PNG so the transparency is kept.
This method suits solid backgrounds such as white sweeps, studio shots, and logos. It matches colors, not subjects, so photos with hair, fur, or a busy scene need an AI cutout tool instead.
Step-by-step: removing a background
The workflow is nearly identical across good cutout tools. Here is the reliable path:
- Start with a sharp source image. Blurry photos confuse edge detection. If your shot is soft, raise the Sharpness setting in our Image Enhancer first for a cleaner result.
- Upload your photo to an AI cutout tool, or use Replace Color in our Image Editor for a plain backdrop. AI tools detect the subject automatically within a second or two.
- Review the auto-cutout. Check the edges, especially around fingers, straps, and hair.
- Refine the mask. If your tool has erase and restore brushes, use them to add back missing pieces or trim stray background.
- Choose your output: keep it transparent, drop in a solid color, or place a new background.
- Export as PNG to preserve transparency (more on formats below).
Handling hair, fur, and tricky edges
Wispy hair, pet fur, and semi-transparent objects like glass are where cheap cutouts fall apart. A few things help:
- Use a tool with edge feathering or "hair detail" refinement. These blend individual strands instead of chopping them into a hard, jagged line.
- Avoid over-sharpening after the cut. Excess sharpening makes cutout edges look crunchy and fake. If you do sharpen, apply it lightly and understand when image sharpening actually helps.
- Match the new background's brightness. A subject shot in warm light looks pasted-on against a cold background. Adjust color temperature so the lighting agrees.
- Zoom to 100% before you export to catch leftover halos, which are faint fringes of the old background clinging to the edges.
Saving with transparency: file formats
Transparency only survives in formats that support an alpha channel. Pick the wrong one and your see-through background turns into a solid white block.
| Format | Transparency? | Use it for |
|---|---|---|
| PNG | Yes | Logos, cutouts, graphics with hard edges |
| WebP | Yes | Web use, smaller files than PNG |
| JPG | No | Photos on solid backgrounds only |
| GIF | Yes (1-bit only) | Simple animations, not smooth edges |
Save your final cutout as a PNG when edges need to stay crisp, or WebP when file size matters for a website. Avoid JPG for transparent images entirely; JPG has no alpha channel, so any transparent area gets flattened onto white. If you need to switch between these later, our image converter handles PNG, WebP, and GIF conversions while preserving transparency where the format allows. To learn which format fits which job, see our complete guide to image formats.
Pro tips for cleaner cutouts
- Resize before, not after. Scaling a cutout way up reveals jagged edges. Start at the size you need, or resize without losing quality with our Image Resizer before removing the background.
- Batch similar shots. If you have 40 product photos on the same white sweep, process them together with consistent settings so your whole catalog looks uniform.
- Keep a shadow when it helps. A soft drop shadow under a product stops it from looking like it is floating and adds instant realism.
- Check on your final platform. A cutout that looks perfect on white may show ugly edges on a dark theme. Preview against the background you will actually publish on, and match your export to each platform's needs by planning how you adjust images for social media.
Master these steps and background removal stops being a chore. Whether you are prepping marketplace listings, building a thumbnail, or dropping a subject into a new scene, the same core loop applies: start sharp, let the tool do the heavy lifting, refine the edges, and export in a format that keeps your transparency intact.

Keep your transparent cutouts crisp in any format
Once you finish image background removal, convert your PNG images to WebP or back again in one click, with transparency preserved where the format supports it.
Try our free image converter →
PNG and WebP both support an alpha channel, which stores transparency. Save your cutout as PNG for the cleanest hard edges or WebP for smaller web files. Avoid JPG completely, since it has no transparency support and will fill any see-through area with solid white.
Yes. AI-based cutout tools recognize subjects like people, cars, and products by shape rather than color, so they can separate a subject even against a messy background. You may need to touch up the edges manually, but the automatic pass usually handles most of the work.
Halos are leftover pixels of the original background clinging to the subject's edge. They show up most when the subject and old background were similar colors. Zoom to 100 percent, use the refine or erase brush along the outline, and add slight edge feathering to blend the transition.
Use a tool with hair-detail or edge-refinement features, which blend individual strands instead of cutting a hard line. Shooting against a contrasting background helps a lot. After the cut, match the new background's brightness and color temperature so fine strands do not look pasted on.
Resize first, or start at your target size. Scaling a finished cutout much larger reveals jagged, pixelated edges along the outline. Working at the correct dimensions from the start keeps the mask sharp and avoids the quality loss that comes from enlarging a small transparent image.