
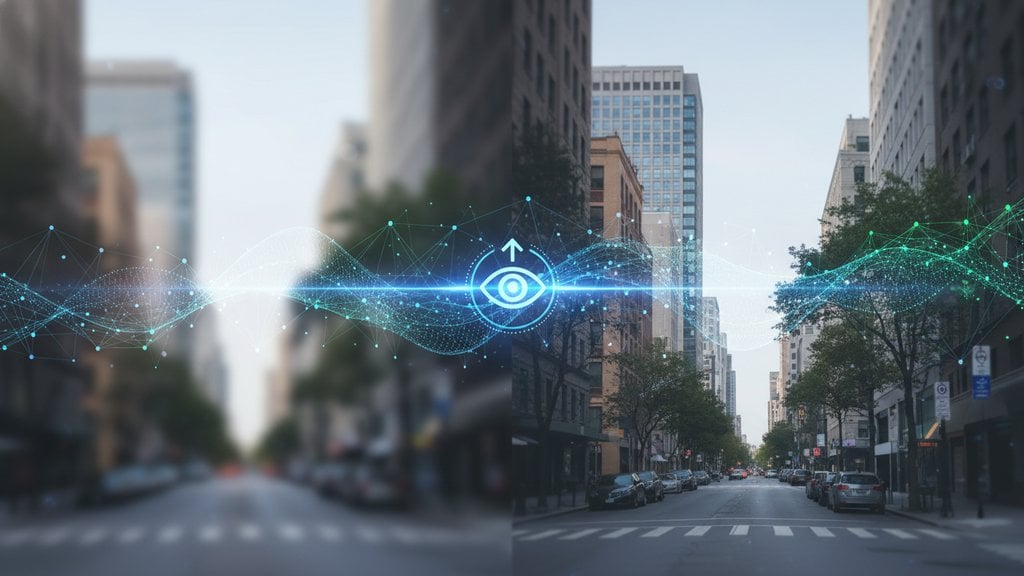
Blurry photos are fixable more often than you'd think. Whether the blur came from camera shake, a subject moving too fast, or simply a low-resolution source, there are solid online tools and techniques that can sharpen a blurry photo without needing Photoshop or any software download. Here's exactly how to fix blurry photos, step by step, so you can rescue images you thought were ruined.
Content Table
Why Photos Go Blurry
Understanding the cause of blur matters because different causes respond to different fixes. The three most common culprits are:
- Motion blur: The camera or subject moved during the exposure. This creates streaking or smearing in a specific direction.
- Out-of-focus blur (defocus): The lens wasn't focused on the right plane. This produces a soft, circular haze (technically called bokeh or defocus blur ).
- Compression blur: The image was saved at too low a quality setting, or it was resized up from a very small original. This creates blocky artifacts rather than true blur.
Each type has a different "repairability ceiling." Motion blur and defocus blur can be partially reversed by AI-powered deblurring tools. Compression artifacts can be reduced but rarely fully eliminated.
Types of Blur and What Can Actually Be Fixed
| Blur Type | Cause | Fixable Online? | Expected Result |
|---|---|---|---|
| Slight motion blur | Camera shake at slow shutter speed | Yes, often well | Noticeably sharper edges |
| Severe motion blur | Fast-moving subject or long exposure | Partially | Some improvement, not perfect |
| Mild defocus | Slightly off-focus plane | Yes | Good recovery of fine detail |
| Heavy defocus | Subject far outside focus range | Limited | Marginal improvement only |
| Compression artifacts | Heavy JPEG compression or upscaling | Partially (AI upscaling helps) | Smoother texture, not full detail |
How to Fix Blurry Photos Online: Step by Step
The general workflow is the same across most online tools that let you unblur an image online or sharpen a blurry photo. Here's how the process works:
- Identify the blur type first. Zoom into the blurry area at 100% (actual pixels). Is there directional smearing? That's motion blur. Is it a soft, even haze? That's defocus. Are there blocky squares? That's compression. Knowing this helps you pick the right approach.
-
Choose the right tool for the job.
- For motion blur and defocus: use an AI-powered deblur or sharpen tool. These use machine learning to reconstruct edge detail that the blur hid.
- For compression artifacts and low-resolution images: use an AI upscaler or enhancer, which adds realistic detail rather than just stretching pixels.
- For mild sharpness issues: a simple unsharp mask or sharpening filter (available in most free online editors) is often enough.
- Upload your original file, not a screenshot of it. Screenshots add an extra layer of compression. Always go back to the original file if possible, even if it's a JPEG. A JPEG original is always higher quality than a PNG screenshot of that JPEG.
- Apply the correction and preview at 100%. Most online tools show a before/after slider or let you zoom in. Always check at full resolution, not the tiny thumbnail. Sharpening that looks great at thumbnail size can introduce ugly halos at full size.
- Adjust strength if the tool allows it. Over-sharpening is a real problem. It creates bright halos around edges and makes the image look artificial. Start at a medium setting and increase only if needed.
- Download in the highest quality format available. If the tool offers PNG output, use it for photos you plan to edit further. For final sharing, a high-quality JPEG (85-95% quality) is fine. Avoid re-saving as a low-quality JPEG repeatedly, since each save adds more compression damage.
Sharpening Techniques Explained
Not all sharpening is the same. Here are the three main methods you'll encounter in online tools:
Unsharp Mask
Despite the confusing name, unsharp mask (USM) actually sharpens. It works by finding edges, creating a slightly blurred version of the image, then increasing contrast between the original and the blurred version at those edges. It's controlled by three sliders: Amount (intensity), Radius (how wide the edge effect spreads), and Threshold (how different pixels need to be before they're treated as an edge). This is the classic Photoshop approach and is available in many free online editors. It works best on mild blur and general softness.
Deconvolution / AI Deblur
This is the more powerful technique for fixing blurry photos caused by motion or defocus. The math behind it, called deconvolution , tries to reverse the specific blur function that was applied to the image. Modern AI tools do this automatically by estimating the blur kernel (the pattern of how the blur spread) and reversing it. Results are significantly better than unsharp mask for real blur, though they can introduce ringing artifacts if pushed too far.
AI Super-Resolution / Upscaling
Tools using models like Real-ESRGAN don't just enlarge pixels. They use a neural network trained on millions of images to hallucinate plausible detail. This is especially useful for old photos, screenshots, and low-resolution images. The tradeoff is that the added detail is inferred, not recovered, so faces and text can sometimes look slightly "painted" if the original is very low quality.
Tips for Getting the Best Results
- Crop before you sharpen. Sharpening the whole image wastes processing on areas that don't need it and can introduce noise in smooth backgrounds like sky. Crop to the important area first if the tool allows it.
- Work with RAW files when possible. RAW files from DSLRs and mirrorless cameras contain far more data than JPEGs. Even a slightly blurry RAW shot often sharpens much better than the same scene shot as JPEG.
- Reduce noise before sharpening. Sharpening amplifies noise. If your photo looks grainy, run a noise reduction pass first, then sharpen. Many AI tools do both in one step.
- Don't expect miracles from heavily blurred images. If a photo is so blurry that you can't make out the subject at all, no current tool can reconstruct what wasn't captured. The data simply isn't there.
- Check the result on multiple screen types. A sharpened photo can look fine on a laptop screen but show harsh halos on a phone or tablet. Preview on at least two devices before finalizing.
When Blur Cannot Be Fixed
Some blur is genuinely unrecoverable. Here's when to stop trying and accept the loss:
- The subject is so blurry that no edges or features are distinguishable at all.
- The image resolution is under 100x100 pixels and the subject requires fine detail (like a face or text).
- The blur is from a very long exposure (several seconds) with a moving subject. The image data for the original position simply doesn't exist in the file.
- The photo has been saved as a JPEG at very low quality (under 30%) multiple times. Each re-save destroys information permanently.
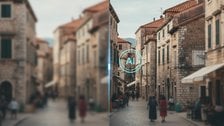
Fix Blurry Photos Right in Your Browser
Need to sharpen a blurry photo or deblur an image free without installing anything? Our online tool uses AI to restore sharpness and recover detail in seconds, no account required.
Try Our Free Tool →
Yes, several free online tools can meaningfully improve blurry images using AI sharpening and deblurring. Free versions typically handle smaller file sizes and may add a watermark or limit exports. For casual use, portrait fixes, or one-off photo rescues, free tools are usually sufficient. For batch processing or high-resolution professional work, paid tiers often remove those restrictions.
Sharpening increases edge contrast to make an image look crisper. It doesn't recover lost information; it just makes what's there look more defined. Deblurring (or deconvolution) actually tries to reverse the mathematical process that caused the blur, reconstructing detail that was hidden. Deblurring is more powerful for real motion or defocus blur, while sharpening works well for general softness and mild haze.
Over-sharpening creates bright halos around edges and amplifies noise, making photos look artificial or crunchy. This usually happens when the sharpening radius is too wide or the amount is set too high. Try reducing the sharpening strength by 30-50%. Also, if the photo is noisy, run noise reduction first. Sharpening a grainy photo almost always makes the grain worse before it makes edges better.
Applying sharpening or deblurring doesn't reduce quality on its own, but saving the result as a heavily compressed JPEG will. Always download the processed image at the highest quality setting the tool offers, ideally as a PNG or a JPEG at 90%+ quality. Avoid re-saving the same JPEG multiple times, since each save cycle discards a small amount of image data permanently through compression.
AI face restoration tools (like GFPGAN or CodeFormer, which power many online enhancers) can do a remarkable job recovering facial features from blurry or low-resolution portraits. They work by using a model trained on millions of faces to reconstruct plausible detail. Results are best when the face is at least partially recognizable. If the face is a tiny, completely indistinct blob, the AI is essentially guessing, and the result may not resemble the actual person.
It depends on the tool's privacy policy. Reputable services process your image and delete it from their servers within minutes or hours. Before uploading sensitive photos (children, private documents, personal moments), check the tool's privacy policy for data retention and sharing practices. For highly sensitive images, consider using a desktop application like GIMP or Darktable that processes everything locally without any upload.